Introduction
SendHawk.Online sends the email your application triggers: sign-in codes, password resets, receipts and notifications. Your backend makes one HTTPS request with an API key, the message goes out through Amazon SES from your own domain, and you follow what happens to it in the dashboard, through the API and with webhooks.
Every endpoint lives under one base URL, takes and returns JSON, and authenticates with an API key:
https://sendhawk.online/api
Quickstart
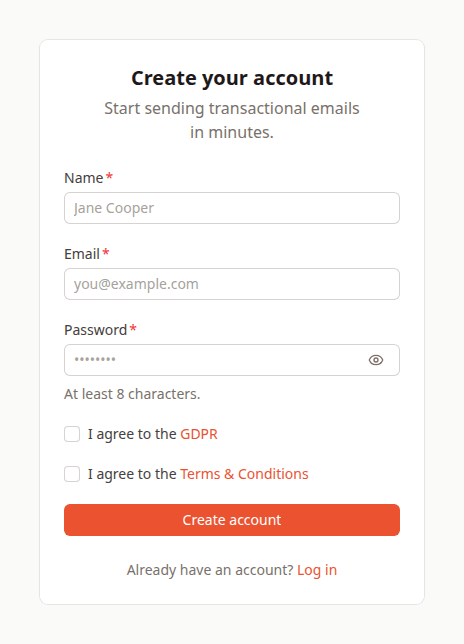
Create an account
Create an account and name your workspace. A workspace holds your sending domains, API keys, templates and sending history, and your team works inside it together.
Add and verify your domain
Open Settings > Domains, click Add domain and enter the domain you will send from, for example yourdomain.com. You get five DNS records to publish at your DNS provider: three DKIM CNAME records, plus an MX and a TXT record at send.yourdomain.com.
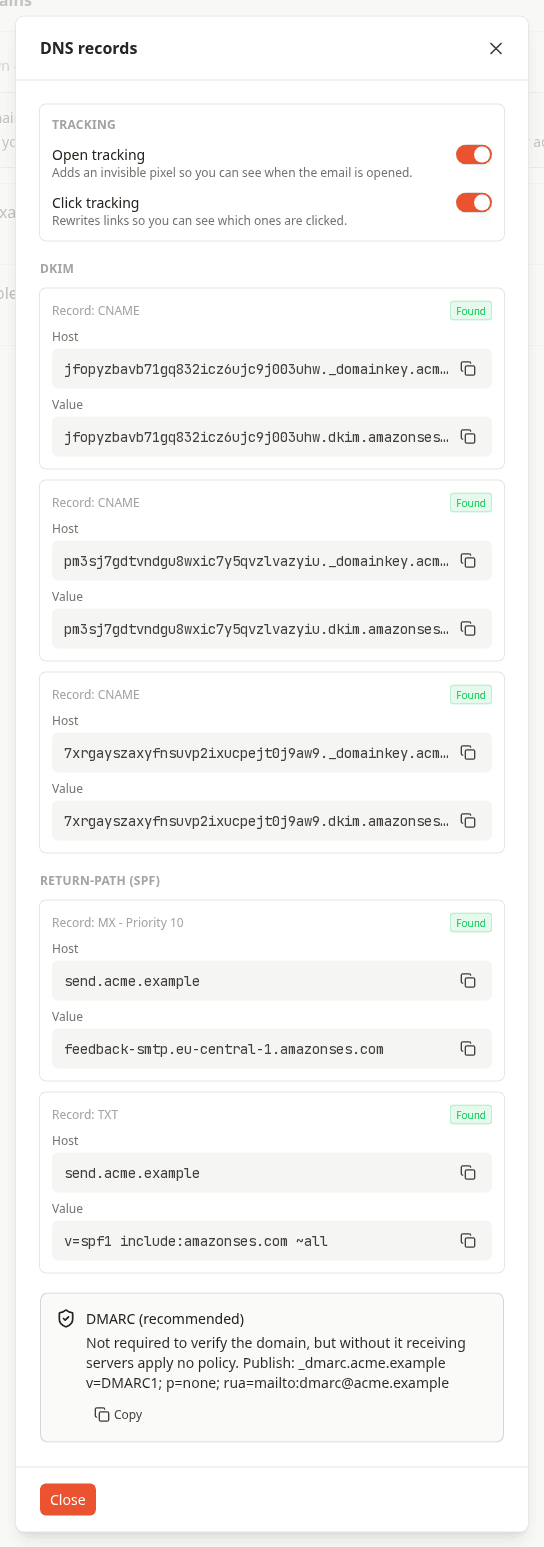
Publish them and click Verify. You can send as soon as the DKIM records are found, which often takes minutes. Domains and DNS explains every record and what to do when verification is slow, and the Domains guide shows how to enter them at common DNS providers.
Create an API key
Open Settings > API Keys and click Create API key. The key starts with sk_live_ and is shown only once, so put it straight into your environment or secret manager:
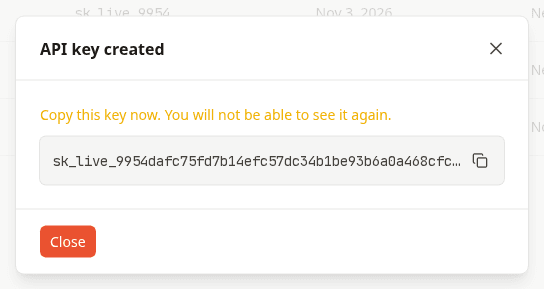
export SENDHAWK_API_KEY="sk_live_..."
Send your first email
Replace yourdomain.com with your verified domain and you@example.com with an inbox you can check.
curl https://sendhawk.online/api/emails \
  -H "Authorization: Bearer $SENDHAWK_API_KEY" \
  -H "Content-Type: application/json" \
  -d '{
    "from": "hello@yourdomain.com",
    "to": "you@example.com",
    "subject": "Hello from SendHawk.Online",
    "html": "<p>It works.</p>",
    "text": "It works."
  }'
// Node.js 18 or later ships fetch. Save as send.mjs and run: node send.mjs
const response = await fetch('https://sendhawk.online/api/emails', {
  method: 'POST',
  headers: {
    Authorization: `Bearer ${process.env.SENDHAWK_API_KEY}`,
    'Content-Type': 'application/json'
  },
  body: JSON.stringify({
    from: 'hello@yourdomain.com',
    to: 'you@example.com',
    subject: 'Hello from SendHawk.Online',
    html: '<p>It works.</p>',
    text: 'It works.'
  })
})

const result = await response.json()
if (!response.ok) throw new Error(`${response.status} ${result.message}`)

console.log(result.id)
# pip install requests
import os

import requests

response = requests.post(
    "https://sendhawk.online/api/emails",
    headers={"Authorization": f"Bearer {os.environ['SENDHAWK_API_KEY']}"},
    json={
        "from": "hello@yourdomain.com",
        "to": "you@example.com",
        "subject": "Hello from SendHawk.Online",
        "html": "<p>It works.</p>",
        "text": "It works.",
    },
    timeout=10,
)

if not response.ok:
    raise RuntimeError(f"{response.status_code} {response.json()['message']}")

print(response.json()["id"])
<?php
// Needs the curl and json extensions, which most PHP builds include.
$ch = curl_init('https://sendhawk.online/api/emails');
curl_setopt_array($ch, [
    CURLOPT_POST => true,
    CURLOPT_RETURNTRANSFER => true,
    CURLOPT_TIMEOUT => 10,
    CURLOPT_HTTPHEADER => [
        'Authorization: Bearer ' . getenv('SENDHAWK_API_KEY'),
        'Content-Type: application/json',
    ],
    CURLOPT_POSTFIELDS => json_encode([
        'from' => 'hello@yourdomain.com',
        'to' => 'you@example.com',
        'subject' => 'Hello from SendHawk.Online',
        'html' => '<p>It works.</p>',
        'text' => 'It works.',
    ]),
]);

$body = curl_exec($ch);
if ($body === false) {
    throw new RuntimeException(curl_error($ch));
}

$status = curl_getinfo($ch, CURLINFO_HTTP_CODE);
$result = json_decode($body, true);
if ($status < 200 || $status >= 300) {
    throw new RuntimeException("$status {$result['message']}");
}

echo $result['id'], PHP_EOL;
A successful request answers 200 with the id of the new email:
{
  "id": "4f1c2b8e-7a3d-4e5f-9b21-0c6d8e9f1a2b"
}
The email appears in Activity straight away, and its page shows each event as it happens:
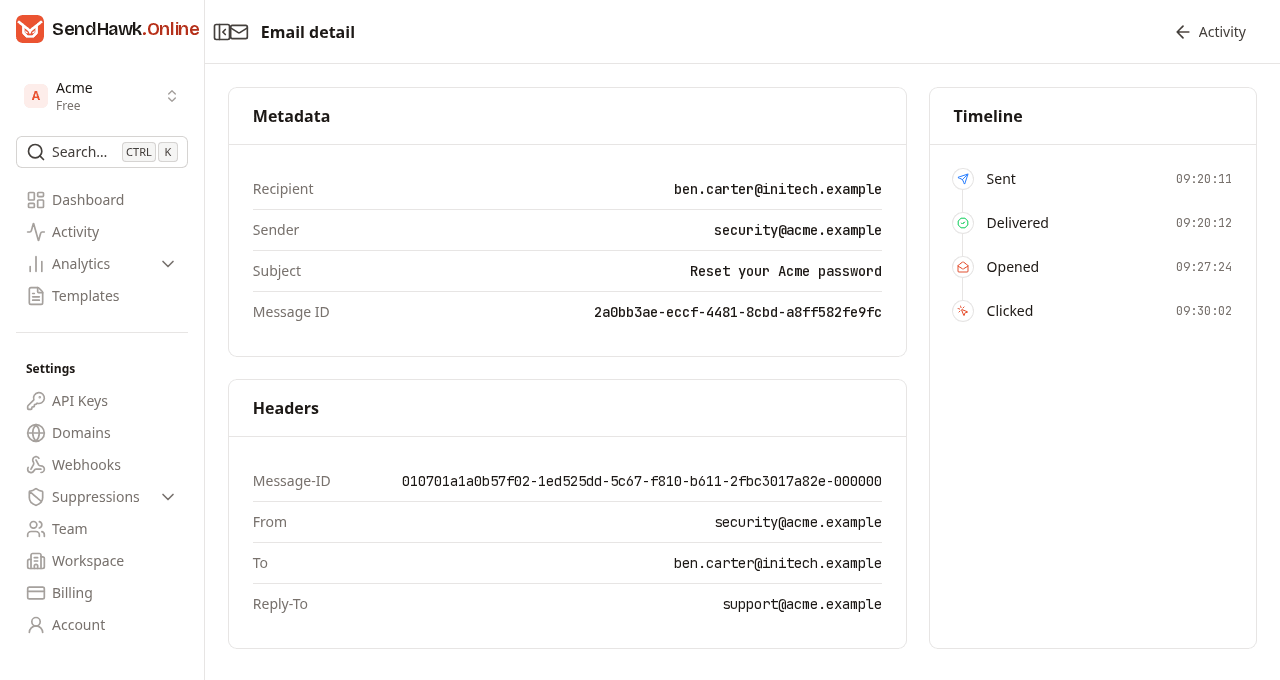
Keep the id: it is how you retrieve the email later, and it is the messageId in every webhook event about it.
422 that says the "from" domain is not verified means the part after @ in from does not exactly match a verified domain in this workspace. See Domains and DNS.Next steps
- Authentication: how keys work, and how to rotate and revoke them.
- Send email: every field the endpoint accepts, including
cc,bcc, display names and idempotency. - Templates and variables: design an email once in the dashboard and fill it per send.
- Webhooks: get deliveries, bounces, complaints, opens and clicks pushed to your server.
- Errors and limits: status codes, rate limits and when to retry.
- Dashboard guide: every screen of the dashboard, step by step.